
Hi and welcome back.
Last week I introduced the idea that you could lose weight and have fun at the same time (no not that) by flying stunt kites, and there was a promise at the end to show you something that took more energy still.
You can expect a stunt kite to become much more challenging to fly when it reaches its performance threshold in gusty weather. It will then react very sharply to every manoeuvre that you try to do and there’s a good chance that one of the lines will snap which then heralds a very rapid crash.
Strong winds are therefore to be avoided. Not so with their larger cousins which are called power kites, e.g.
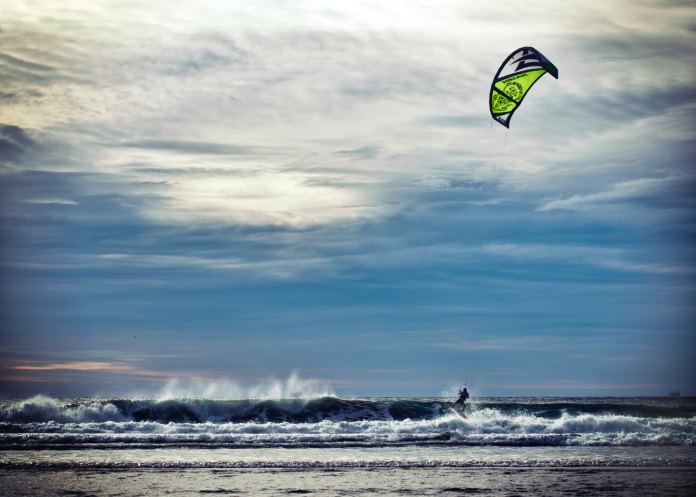
Photo by Tim Mossholder on Unsplash
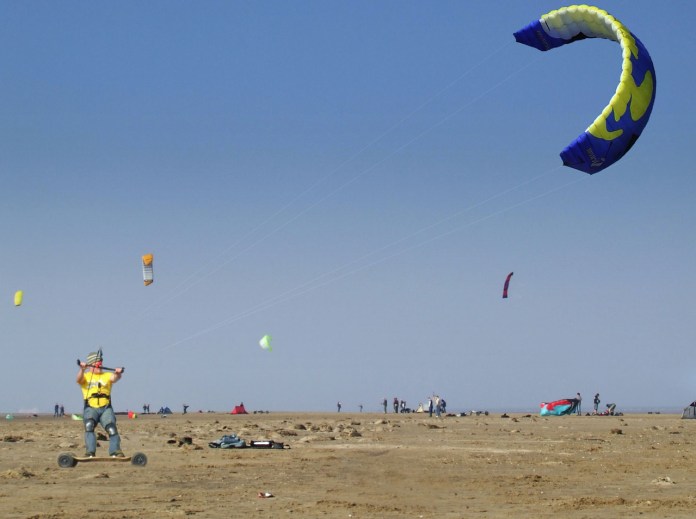
These are as you can here, generally much larger and are effectively like curved wings. As they are struck by wind, they produce a power coefficient which lifts them perpendicularly. Kite surfers channel this energy by directing it with their boards.
This guy’s out of the ocean and just hanging on. If you are connected on the other end, they pull you, as demonstrated in this picture.
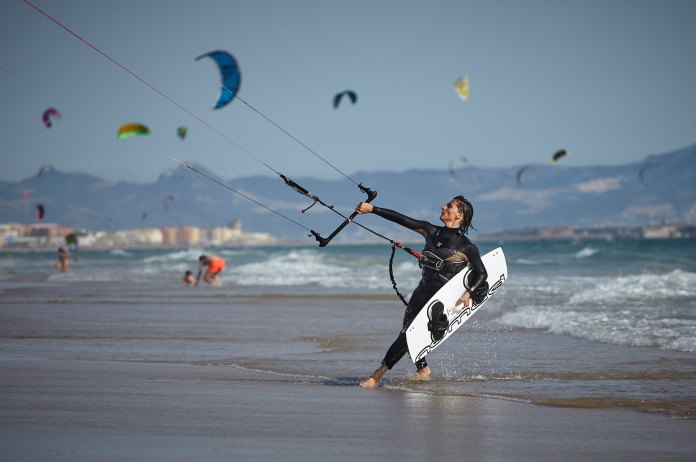
Notice how much he’s leaning back? That takes energy and that’s just moderate wind he’s in. The first time I flew one of these I was amazed at the energy it produced, and it needed a lot of effort to prevent it pulling me along.
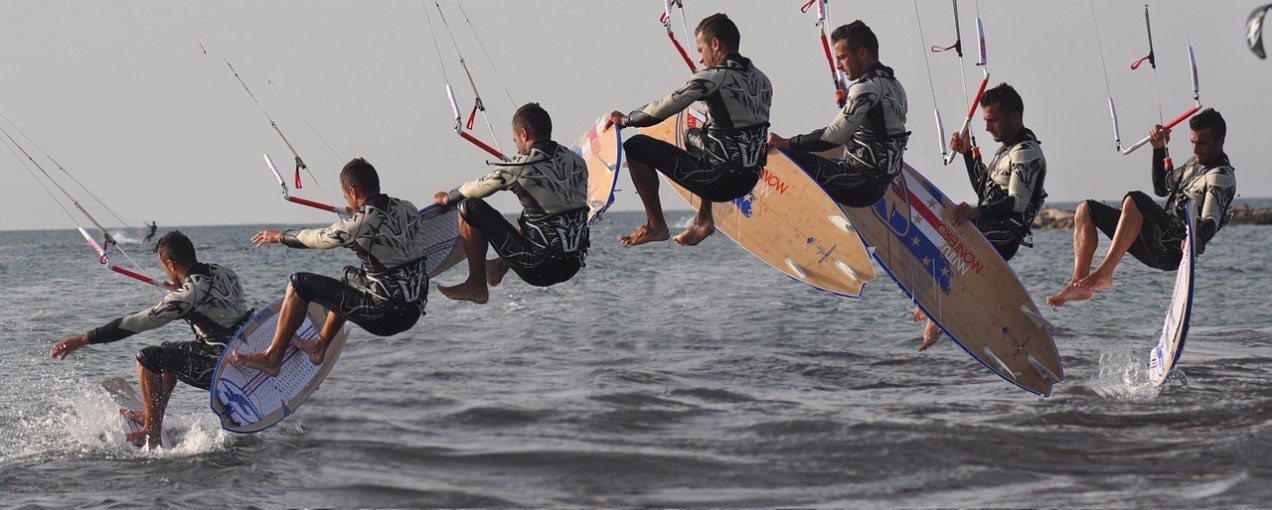
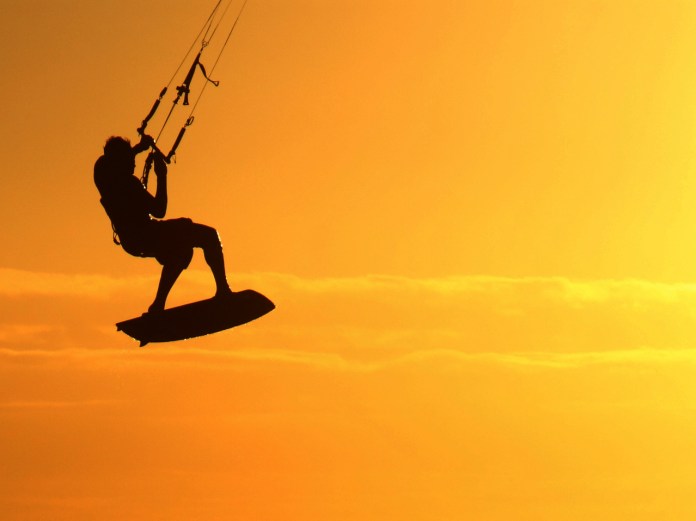
These kites are so powerful that they’ll lift you into the air (which unsurprisingly is called an “air”:
On land, the power kites energy can be used to pull buggies and land boards
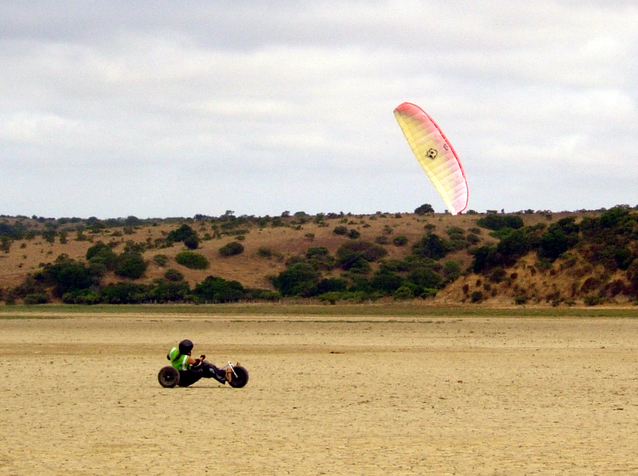
Now all this looks very adventurous (ok last guy doesn’t look like he’s barreling along I admit), but you can just stand in a field (like the one we discussed before) and fly them without going anywhere – although the kite will have different ideas about this!
The calorie use is half from rigging and derigging and half from just holding on to the kite. Much the same as the stunt kite in the last article, you have to put the kite down and then walk the lines out behind it until they’re all unraveled to their maximum length. The difference is that the lines are longer, this time there’s four of them and while you’re walking them out you’ll become convinced that sometime between you connecting the lines to the kite and starting to walk back, a tiger jumped inside the kite and started doing gymnastics – ok its just the kite reacting very easily to the wind but it doesn’t feel like that at the time, so its a very good idea to have good weights to hold it down with.
Notice again what you’re doing – lots of walking, and using energy.
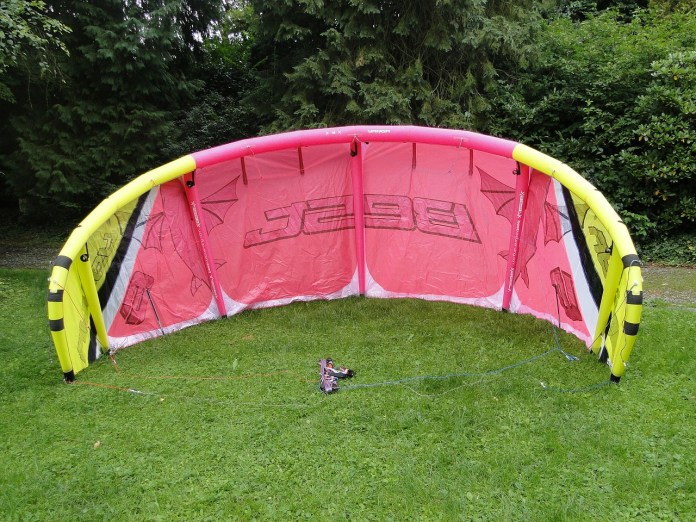
This is what a 5 metre kite looks like up close:
Finally you’ve walked the lines out. You then stake them into the ground, and carefully walk back to the kite and release the weights you left on it. Wait a minute you say, isn’t the kite going to try to take off while you’re doing this? It would were it not for the reason for the four lines. Two lines connect to the top of the kite, and two to the bottom. These all connect to two handles, one for the left side of the kite with top and bottom, and the same for the right hand side. When you’re flying the kite you pivot the handles to accelerate or decelerate the kite. The more the top of the kite is pulled towards you the faster it will go and conversely, the more the bottom of the kite is pulled towards you, the more it stalls. To prevent the kite flying away, you position your handles before you take the weights off, so that they put the kite or wing (which is more what it looks like) in the stalled condition.
Okay, now you’ve removed the weights, and are back holding the handles (probably 150 to 200 feet away). You then pivot the top of the handles towards you and with a reasonable wind, the kite will launch straight into the air at high speed – until you get used to how to control the stall it will just shoot straight up and you’ll be pulled instantly by it. You have to firstly, hold on and then brace backwards. Do this for a few seconds, let alone minutes and you’ll see why kiting takes a lot of energy.
When you start, you just line up the kite so the winds directly behind you, but when its a strong wind day you set the lines up so that the wind is off to one side. This helps you to avoid the rocketship takeoff because without the wing facing directly into wind, it develops less power. You can then steer it into the best wind.
Once you’ve mastered takeoff and just holding the kite in the air, you can start to do stunts with it. The difference between stunting with a power kite and a stunt kite is the power that power kites develop when you’re maneuvering them. Turn the handles sharply enough and you’ll induce a corkscrew. This generates energy which you have to keep from pulling you along the ground and out of the field you’re standing in, otherwise you’ll be through hedges and all sorts.
If you fancy trying power kites, I’d strongly recommend that you join or visit local club beforehand. Firstly so they can assist you with your first flights, and secondly if they have a kite you can borrow, it’ll save you the expense of buying a kite for £150 to £200 and then finding out its not for you.
Safety
If you buy a power kite and aren’t devoted to only using it on the sea, get a helmet – I guarantee you’ll take a tumble and its better to look a bit odd with a helmet on than wearing a neck brace in hospital because you didn’t think it was needed.
Roller skaters often wear joint armour which fixes by elastic. they do this to prevent elbow and knee damage. If you’ve already got this kit wear it and if not seriously think about buying it. You’ll understand why once you’ve been pulled by a kite.
Probably before both of these I’d say by some safety cords – (these aren’t dungarees for extremely careful people). These cords connect to your wrists and to the bottom of each of the handles. If a powerful gust hits your kite it can catch you off guard and start pulling you alarmingly fast. Without safety cords you’re at the mercy of the kite and whatever juxtaposition the handles are in. With the cords its simple – you just let go of the handles. Each handle is connected at the bottom to the cords connected to your wrists and the result is the brakes are applied as the kite has no option but to stall. If you buy nothing else with regard safety gear but your helmet, buy the cords – they may save being dragged across a fence or through bushes or worse across a road.
I guess the difficult thing with this is assessing how many calories you’ve used. To at least get the walking part of it, you could use a pedometer. Map my walk isn’t so reliable here because it adds calories as you stand still and it’ll give you a false reading. If you’re moving the effect isn’t as pronounced. Any questions, please leave a comment and if you’ve liked this, please like or follow. Tata for now and keep

